TIPS AND TRICKS
Here at Kuvings NZ, we’ve collected some helpful tips and tricks to help your juicing, blending or fermenting experience be even easier.
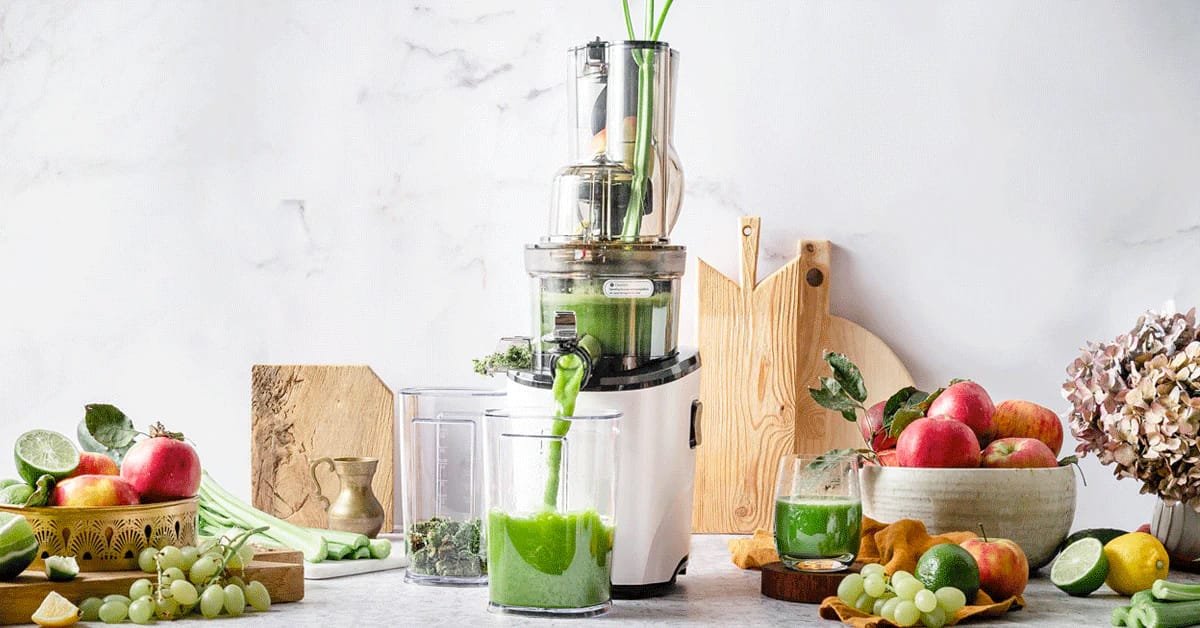
Kuvings Cold Press Juicers preserve the maximum amount of nutrients, minerals, and enzymes possible. Cold press juicers gently press fruit and vegetables rather than utilising high-speed grinding or chewing. Cold-pressed juice lasts up to 72 hours, depending on what ingredients you choose to use.
Quicklinks
Using Your Juicer
Make sure when feeding through the chute that you don’t overload it with produce. If you try to put too much in at a time, you could potentially crack the drum lid and/or damage other internal parts including the motor. Also overloading the machine can cause the strainer to clog up and not filter through properly which will end up in blockage. Removing stones and/or large, hard pips from fruits such as olives or mangoes are also important as these will damage topset. The best thing to do is to let the machine “eat” the produce before continuing to feed the chute.

Tip 1:
Ensure top set is put together securely prior to juicing.
Matching up the red dots on both the juicer lid & juicing bowl should require no effort or force. If the topset is not put together correctly, you may find that you are unable to start your juicer. To troubleshoot a non-starting juicer or unable to fit the lid easily, first check your Auger is pushed in enough – it should feel properly seated in the drum. Check Juicing Screw (Auger) is positioned correctly into the machine prior to putting on the drum lid.
Check all lugs (3, or 4 depending on model) on the juicing bowl are properly connected to the ones of the drum lid. There should be no gap between juicing bowl and drum lid. If in doubt, contact us.

Tip 2:
Kuvings Cold-Press Juicers CANNOT process coconut, sugarcane, or large pips/stones.

Tip 3:
When using frozen fruits and vegetables in your juices, ensure you defrost them for at least 10 minutes before placing in your juicer.
This helps soften the produce, so the machine can easily convert it to juice.

Tip 4:
When juicing celery or other long & stringy or fibrous ingredients, chop into 1–2cm pieces.
We recommend this, as it can clog your machine and stop the juicer working efficiently, or even stop it working.
There is NO NEED to do this with the REVO830 due to its cutting feature on the auger.

Tip 5:
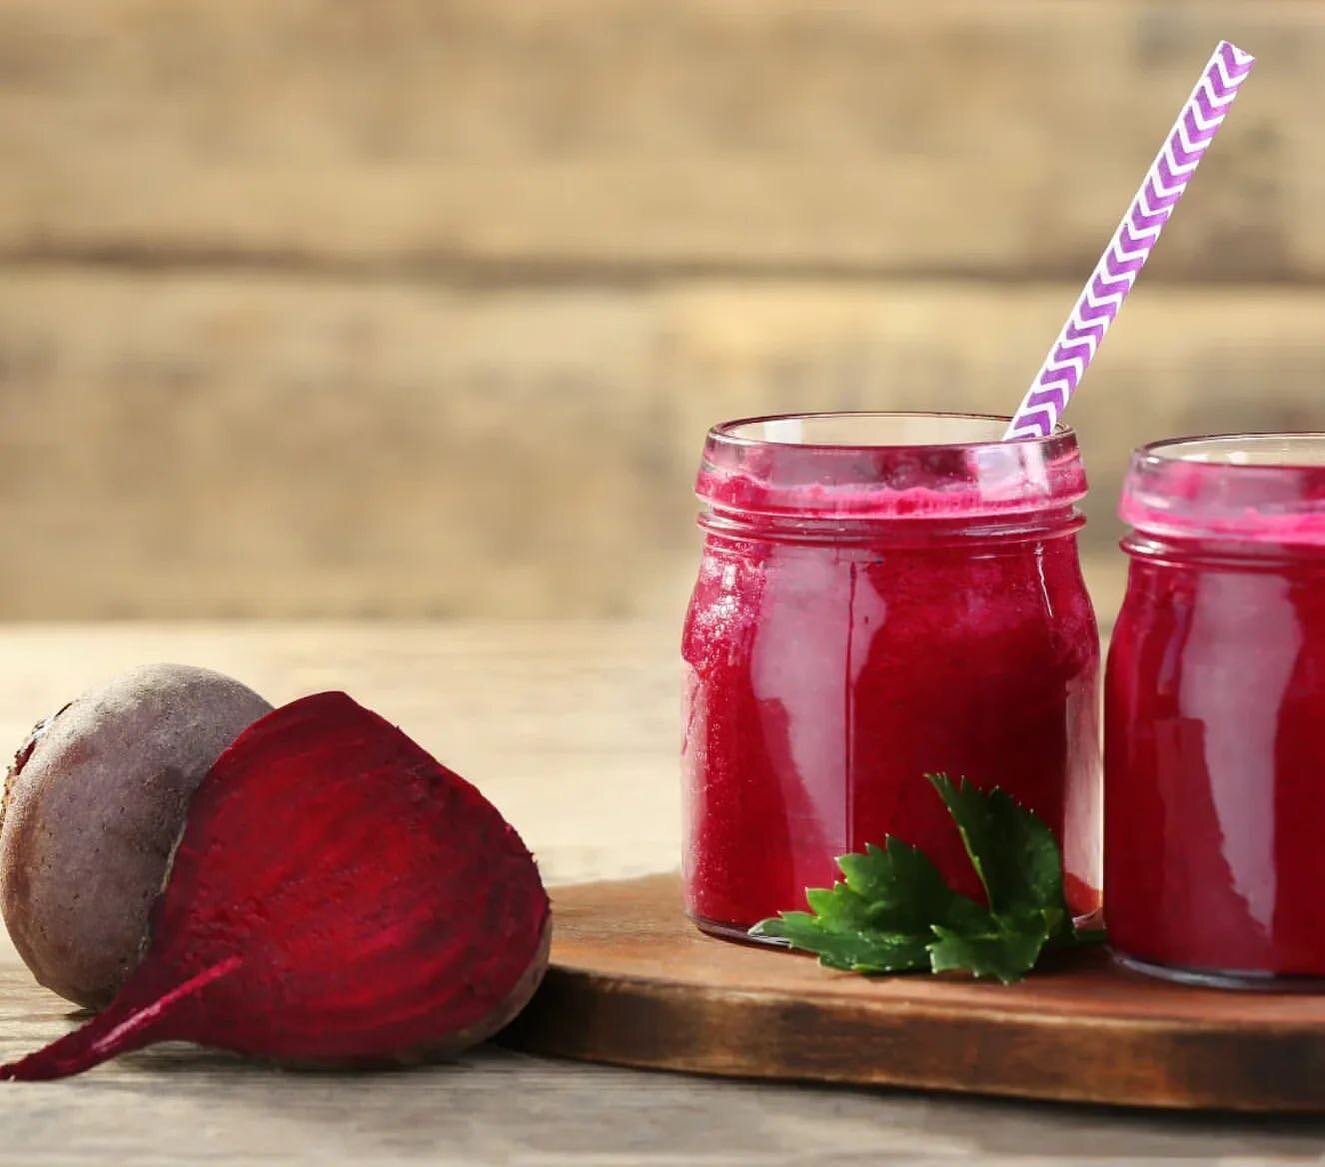
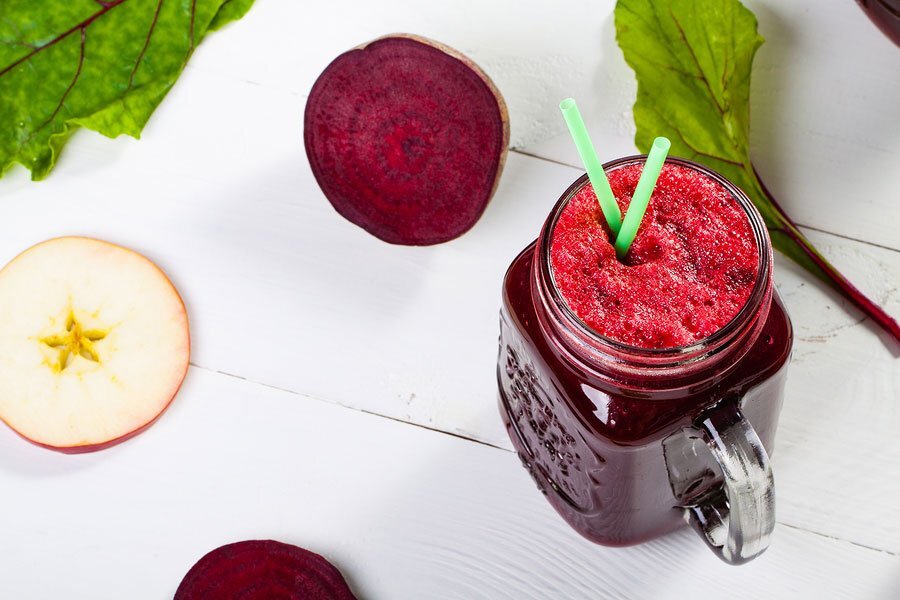
When juicing beetroot, chop it into small cubes.
When juicing beetroot, chop it into small cubes. Placing small handfuls in at a time - Let the machine draw the beetroot cubes down into the juicing bowl naturally as opposed to forcing or using the plunger to drive the beetroot into the machine. This way you will get consistency in juice quality and maximize the yield.
We strongly suggest this as beetroot is one of, if not the toughest vegetable to juice and can damage the machine if the pieces are too large. Beetroot is also likely to stain, so care must be taken to make sure it is not left in the juicer too long.

Tip 6:
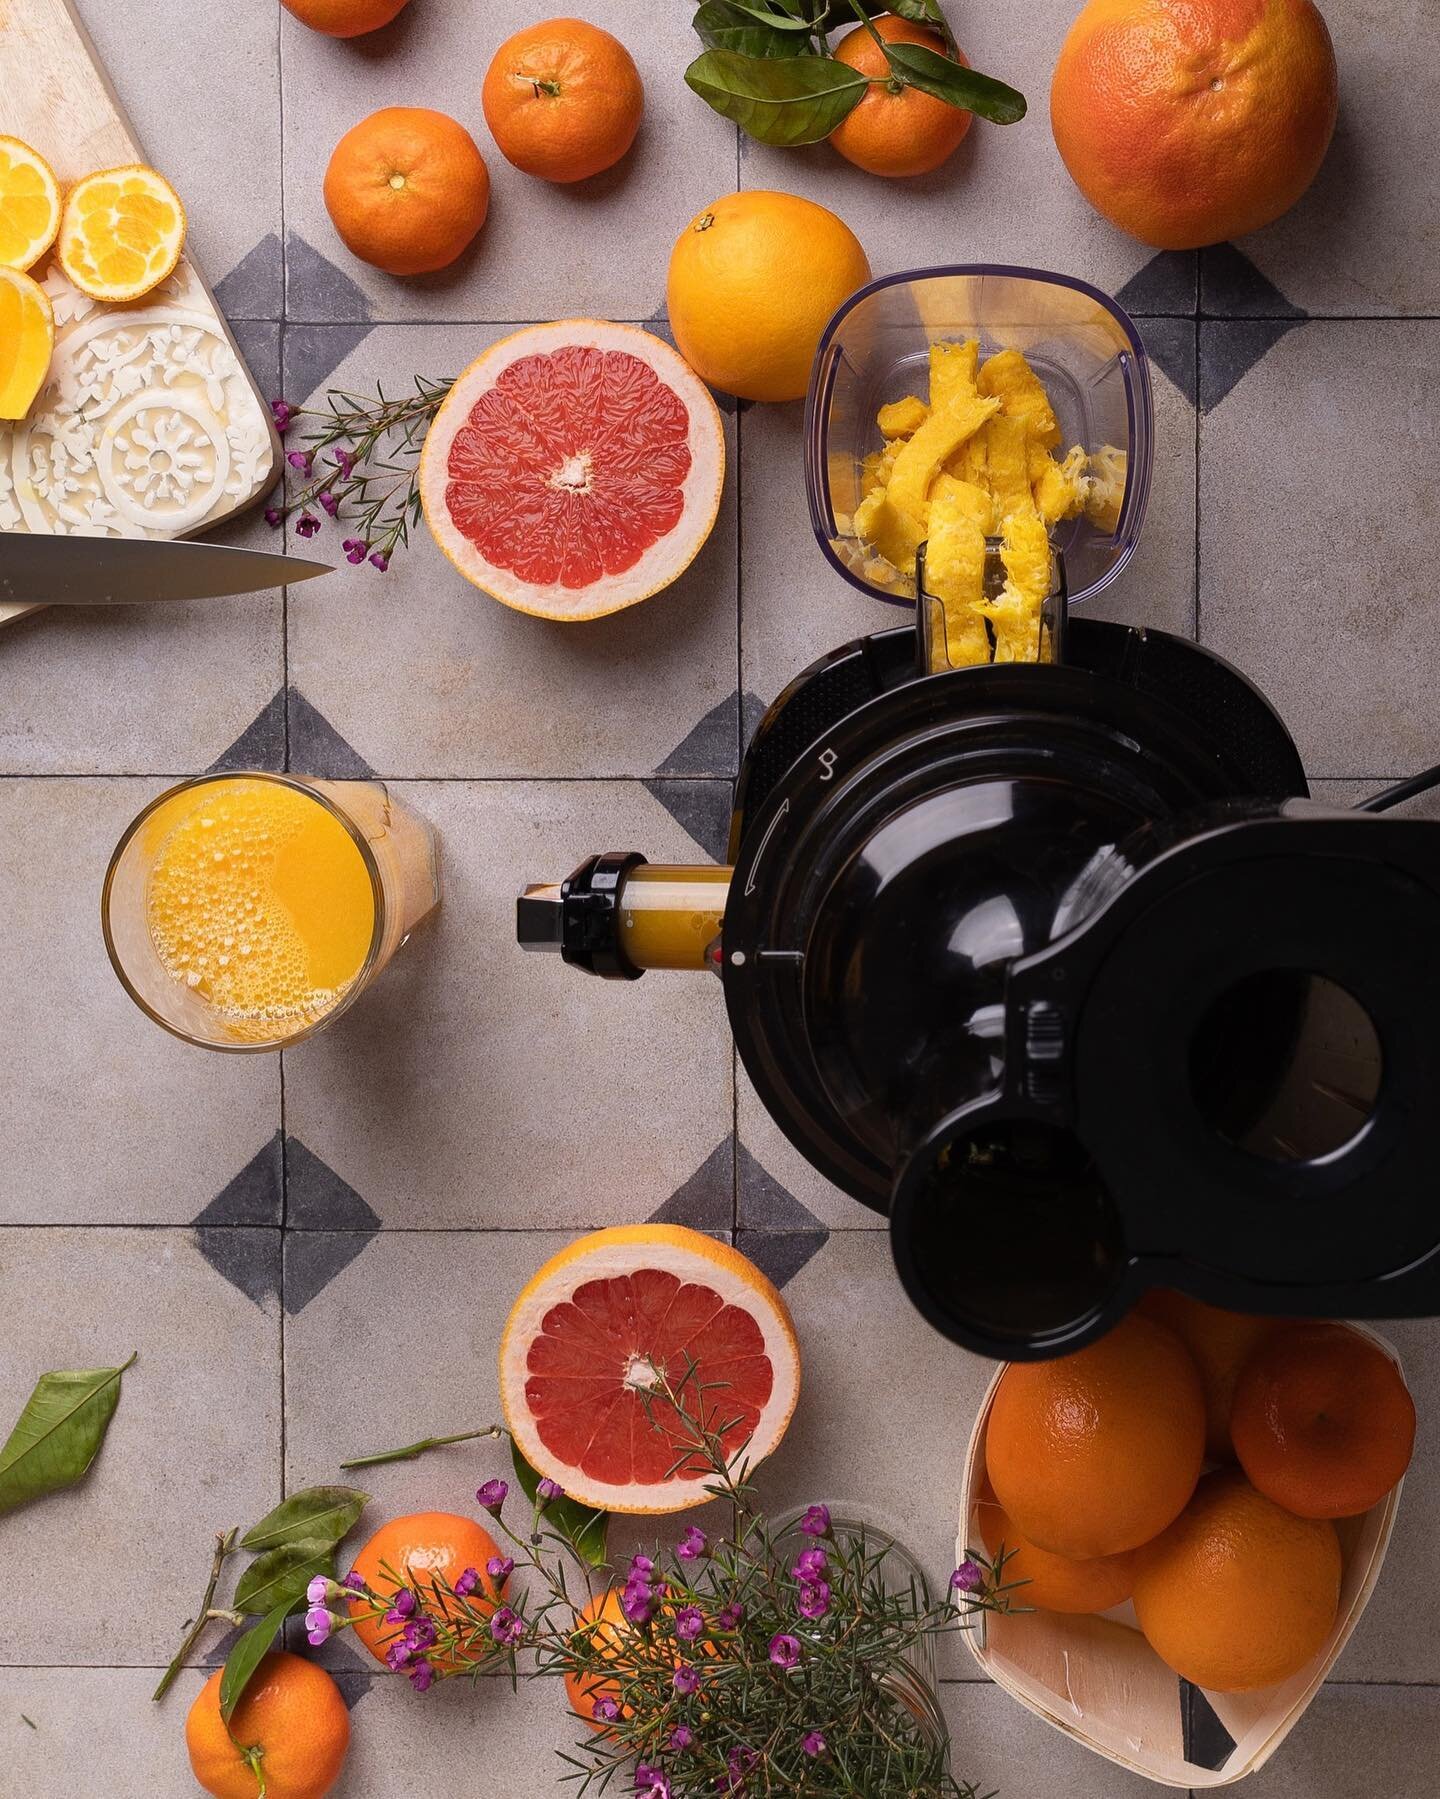
When juicing Oranges, You can remove the Skin/Peel.
The skin, or peel, of an orange can make a juice taste bitter if left on. We recommend you remove the orange peel, and leave as much pith (that’s the white stuff) as possible. The pith contains fibre in the form of pectin, which is linked to several emerging health benefits, including lower cholesterol, improved blood sugar control, and improved gut health, because pectin serves as a prebiotic for the probiotics of the gut.

Tip 7:
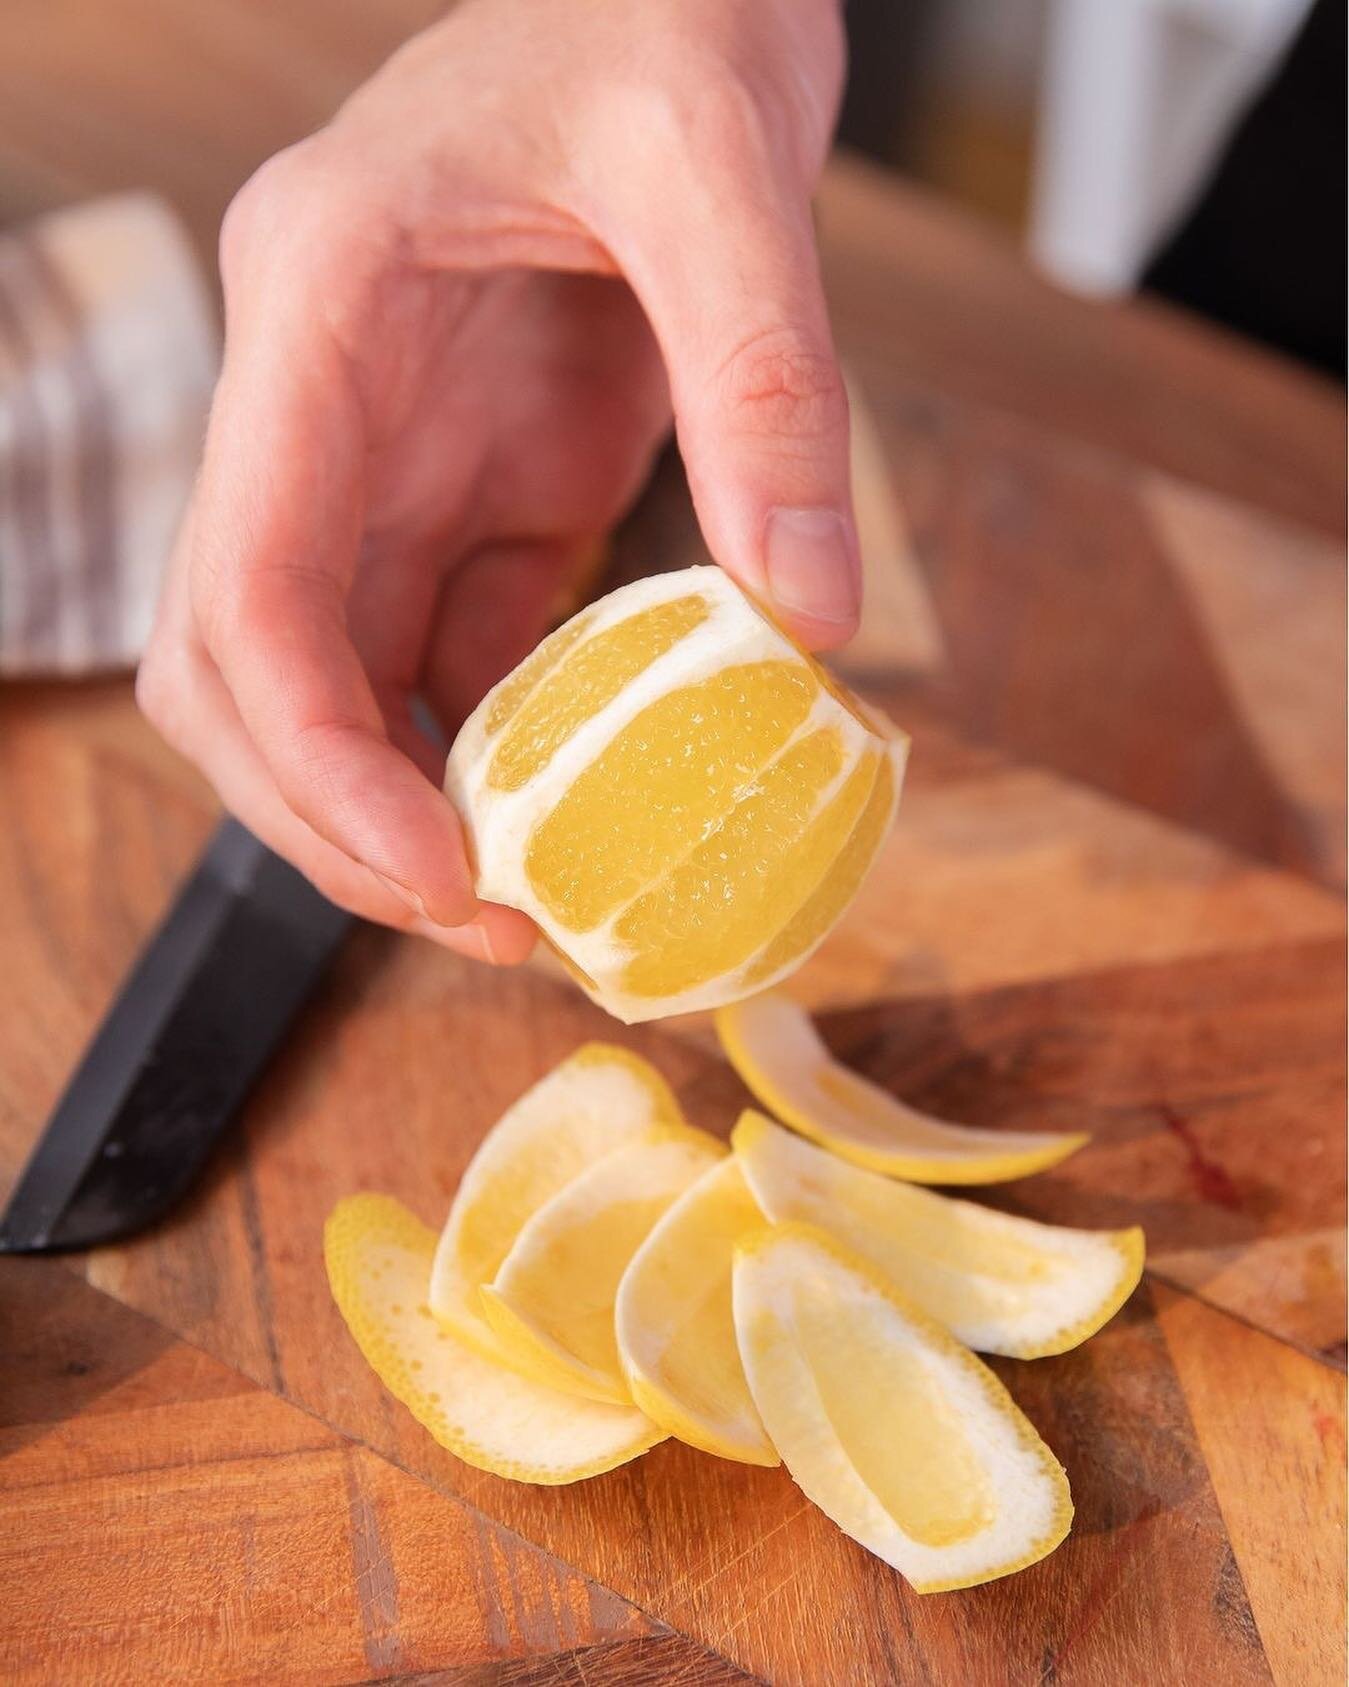
When juicing Lemons, we recommend you keep the skin on.
Lemons are a great addition to almost any juice. They can be fed whole, or added in slices that have been pre-prepared and frozen. Lemon acts as a preserver, and so a slice can be added to every 1-2L of juice to help with that.

Tip 8:
When juicing Apples, remove stalk Only.
The rest can be put into your juicer whole or in ½ depending on the juicer model you have. This gives maximum nutrition and doesn’t alter flavour.

Tip 9:
When Juicing Carrots, they can be fed whole.
Juicing carrots has to be one of the easiest vegetables! The carrots can be peeled, or you can include the skin. If including the skin, make sure you wash them first. You can even juice the nutrient rich carrot greens/tops, though it is recommended you only do a small portion as this can change the taste considerably.
Note: You may require cutting the carrots into sticks in the B6000 & B8000 machines.
Tip 10:
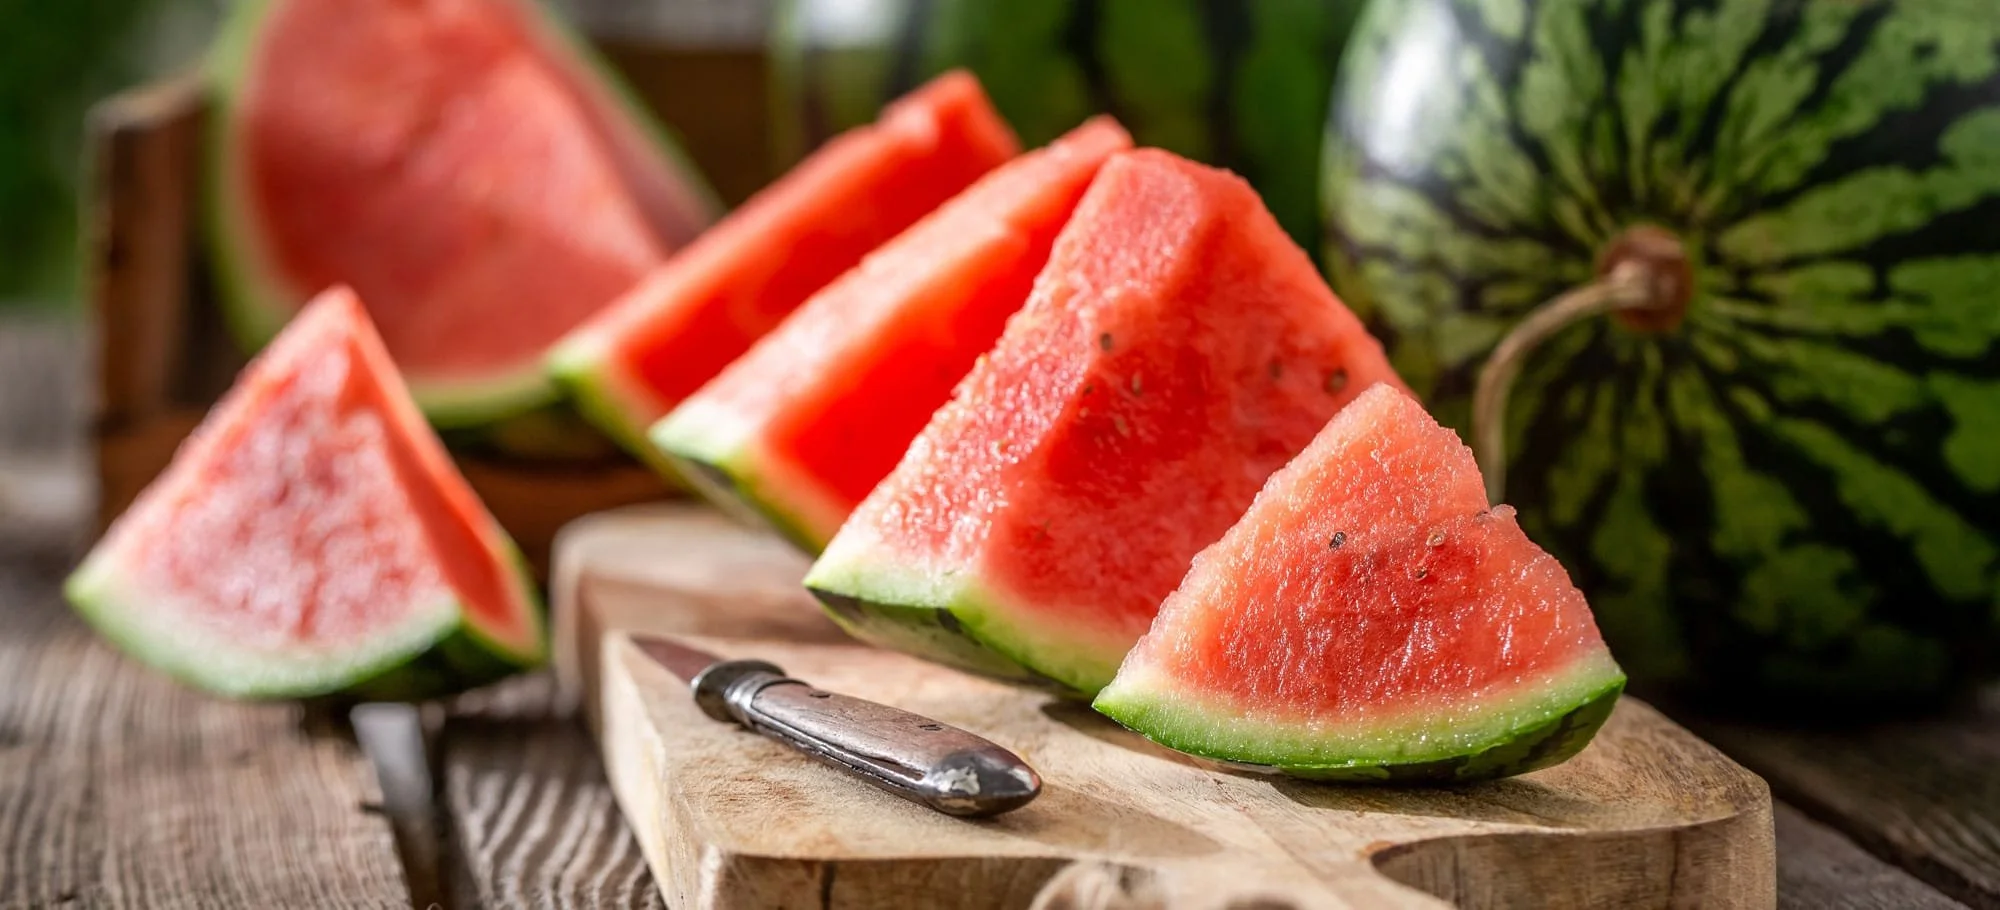
When Juicing Watermelon, cut it into manageable sized pieces.
The skin can be left on if the recipe calls for it, but piece sizing should be reduced. The seeds are thought to help deal with inflammation, and aid in treating bacterial infections, so can be included as well. Watermelon is a great addition to a juice, as the yield is very high.

Tip 11:
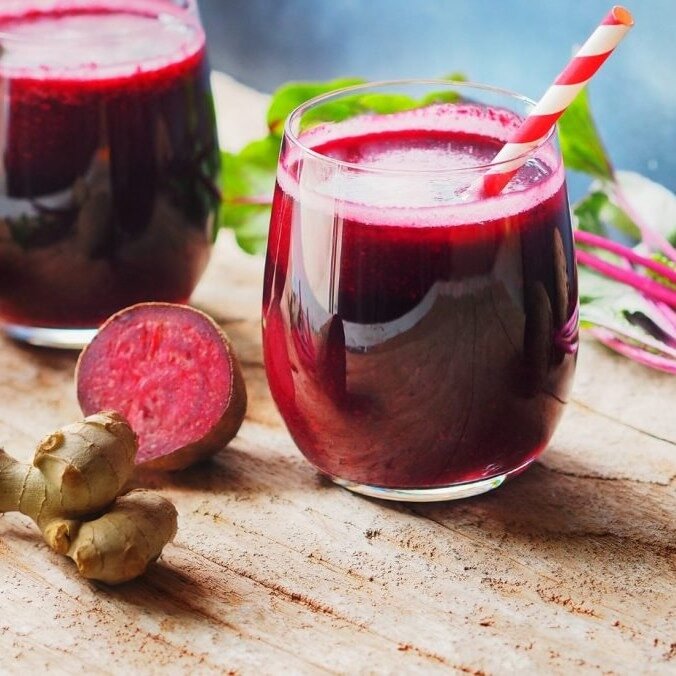
When Juicing Ginger, dice it into pieces.
The piece size should be small, as ginger is a very dense root. It is a great ingredient to add to juices, and adds a peppery taste. Ginger can be juiced with skin on, and we recommend it!
Ginger can be frozen to ensure longevity. It is important to remove it from the freezer at least 10 minutes prior to juicing.
Tip 12:
let the juice mix in the topset before pouring it out.
Leave the Smart Cap closed when you’re juicing a variety of fruits or vegetables in the one juice. Letting the Juicer do the work of mixing the juice means that your juice will be ready to drink straight out of the juicer. When it comes time to open the Smart Cap, make sure it is positioned to open vertically, and take care when opening.

Tip 13:
if it gets stuck, try water.
If the Juice bowl is not releasing, this can be due to pulp build up. If this happens, you can help clear the bowl by running some water through your top set. Ensure to keep the water away from your juice. Next try removing the auger and other internal parts separately. Repeat as needed until free.
Flushing with water is a good practice to adopt into your juicing steps and really helps to clear out clingy fibre.
Tip 14:
Pulp non-Fiction.
Too much pulp can be caused by overloading the chute, juicing soft produce, or a clogged strainer. To reduce pulp, feed ingredients slowly, alternate soft produce with hard vegetables, ensure the strainer is cleaned thoroughly with the provided brush, and strain the final juice if necessary.
Tips to Reduce Pulp
Slow Down Feeding: Overloading the juicer prevents it from separating pulp efficiently. Insert ingredients one at a time and allow them to process fully.
Alternate produce: Alternate soft items (apples, citrus) with hard, fibrous items (carrots, celery, kale) to keep the pulp conveyor moving efficiently.
Keep on top of cleaning: Fine pulp clogs the mesh screen, causing more to pass into your juice. Use the provided green brush under running water to clean both the inside and outside of the screen properly.
AUTO10 & AUTO10 Plus Tips
Tip:
When loading and leaving the AUTO10 models, leave the smart cap open.
When you load up the AUTO10 models, and leave them unattended while juicing, there is a chance that you could make more juice than is able to fit in the juicing bowl. Aside from potentially making a mess, this can also lead to increased load on the machine as well as inconsistent juice texture and content.

Guide:
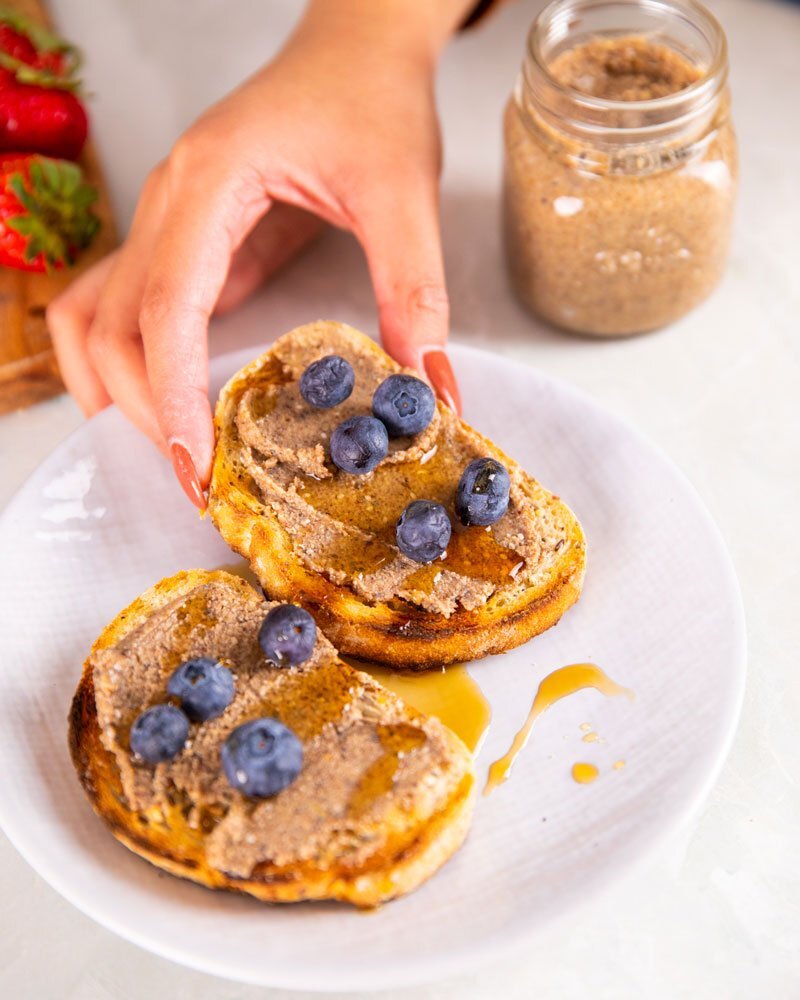
Making Nut Milk in the AUTO10 models.
The Kuvings AUTO10 models can also be used to easily make nut milk. It is essential that the nuts are soaked in room temperature water for a minimum of 12 - 24 hours (skin on ensure to soak for 24 hours) before they are processed in the juicer. Before juicing, pour off the soaking water and add fresh water in a ratio of 1:3. Before the nut/water mixture can be poured into the juicer, the juice outlet flap must be closed. Now start the Kuvings AUTO10/AUTO10 Plus and gradually pour in the nut-water mixture using a ladle. When the juice drum is filled with milk, open the juice outlet flap and remove the milk. Finally, you can filter the nut milk again using a nut milk bag to obtain a completely particle-free result.
You can also use the Pulp strainer, which fits on top of the Juice jug to further remove impurities from the milk.
Important: You are NOT to load up nuts into the AUTO10 models as you can with fruit & vegetables. Instead, gently spoon into the small chute via the drum lid.
CS700 Tips

Tip:
With the CS700, leave the smart cap open.
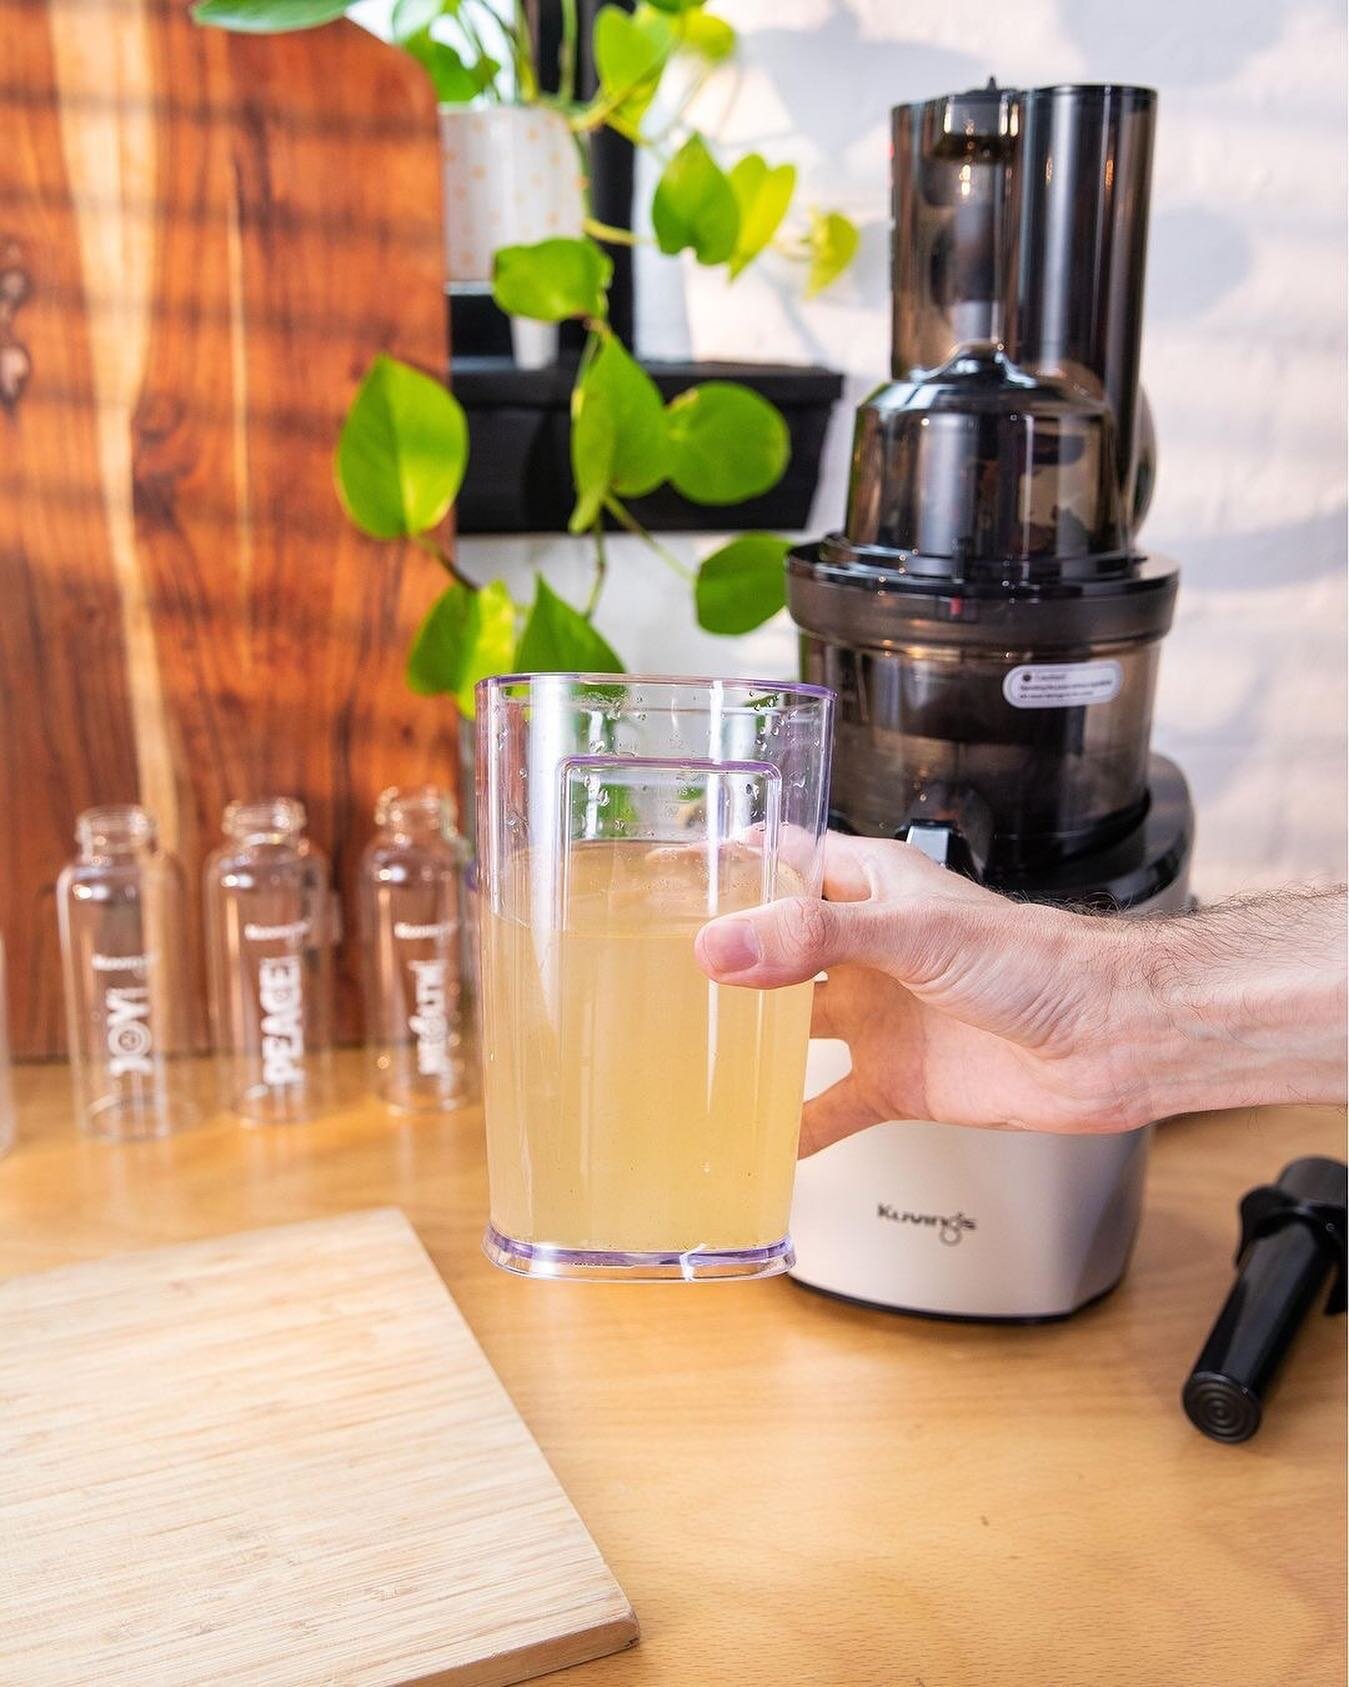
When using the CS700, it's crucial to ensure that your smart cap is open. The stainless steel construction of the juice bowl can make it difficult to visually monitor the filling level. By keeping the smart cap open, you prevent overfilling and ensure a smooth juicing process. This simple precaution helps maintain the efficiency of the CS700 and prevents any potential issues related to overflowing juice.
Cleaning Your Juicer
Flush the juicing bowl after use.
To eliminate extra cleaning, ensure that the smart cap is closed and then pour 250ml of water into feeding chute, with the machine operating. After a short period of time, move the “ON” button to reverse.

Rinse/Wash your topset (with cold water) as soon as you have flushed.
This makes sure all juice ingredients are removed from the juicer before they get a chance to adhere to the juicing bowl, seals or auger. Remember to always wash/rinse the topset parts in cold water, never in boiling water. Every now and again you can wash topset parts in warm water. DO NOT clean parts in a dishwasher as can make your parts brittle. Using the cleaning tools provided with your machine will help you clean quicker and more efficiently, especially when it comes to cleaning the strainer. When washing the Smart Cap, take care to not put any undue side loads on the hinge area. Do not place the Smart Cap under running water when opened.
If you are juicing items like beetroot or turmeric, as these vegetables stain so easily, make sure you rinse or wash the juicing topset directly after using these ingredients, or juice them last in your juicing process.
In this Video, Juice Chef Gary shares his top tip for cleaning after using Tumeric.

Use Baking Soda for a thorough Clean.
You may get whitish build up on Kuvings components - The minerals in the produce contain different compositions and when juiced they can bind to the components if allowed to dry. If they dry, you can soak the affected part in Bicarbonate of soda for 30mins and then scrub off. White vinegar is great, too. Best way to avoid this whitish build-up is by ensuring you wash it properly after each use.
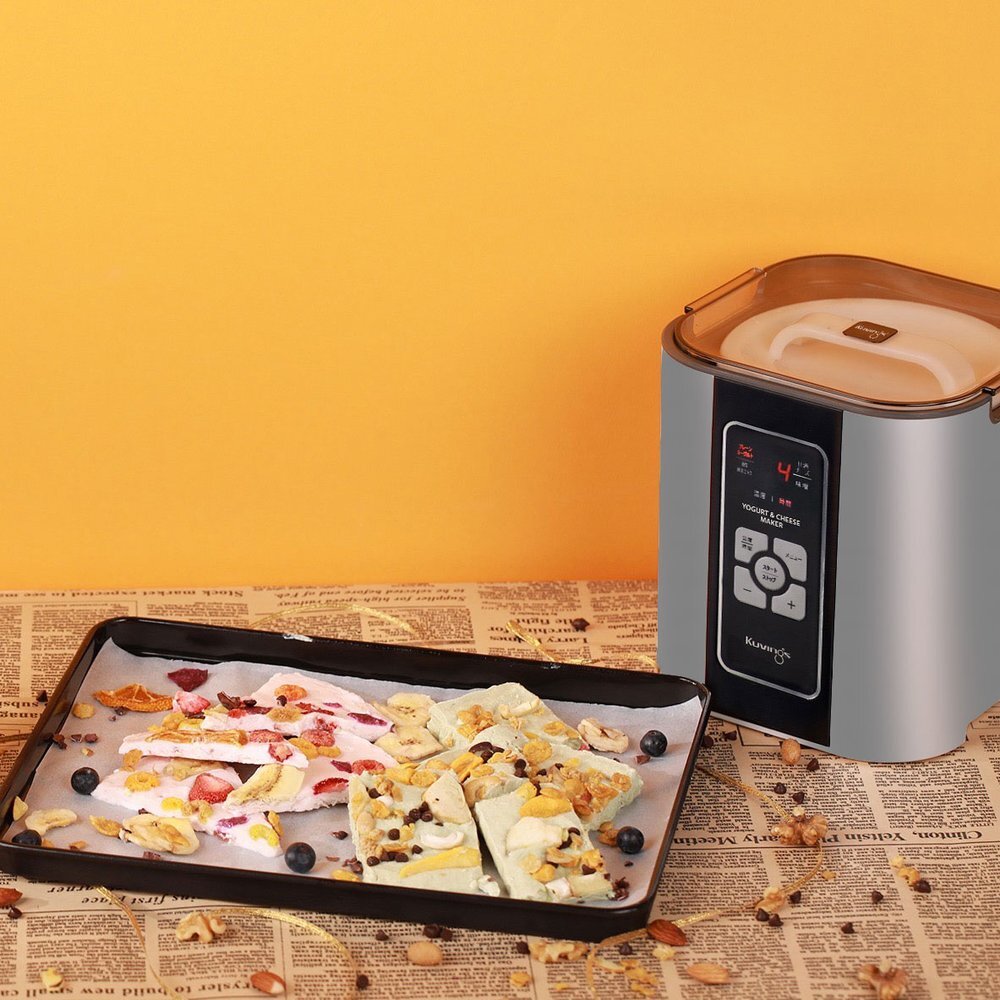
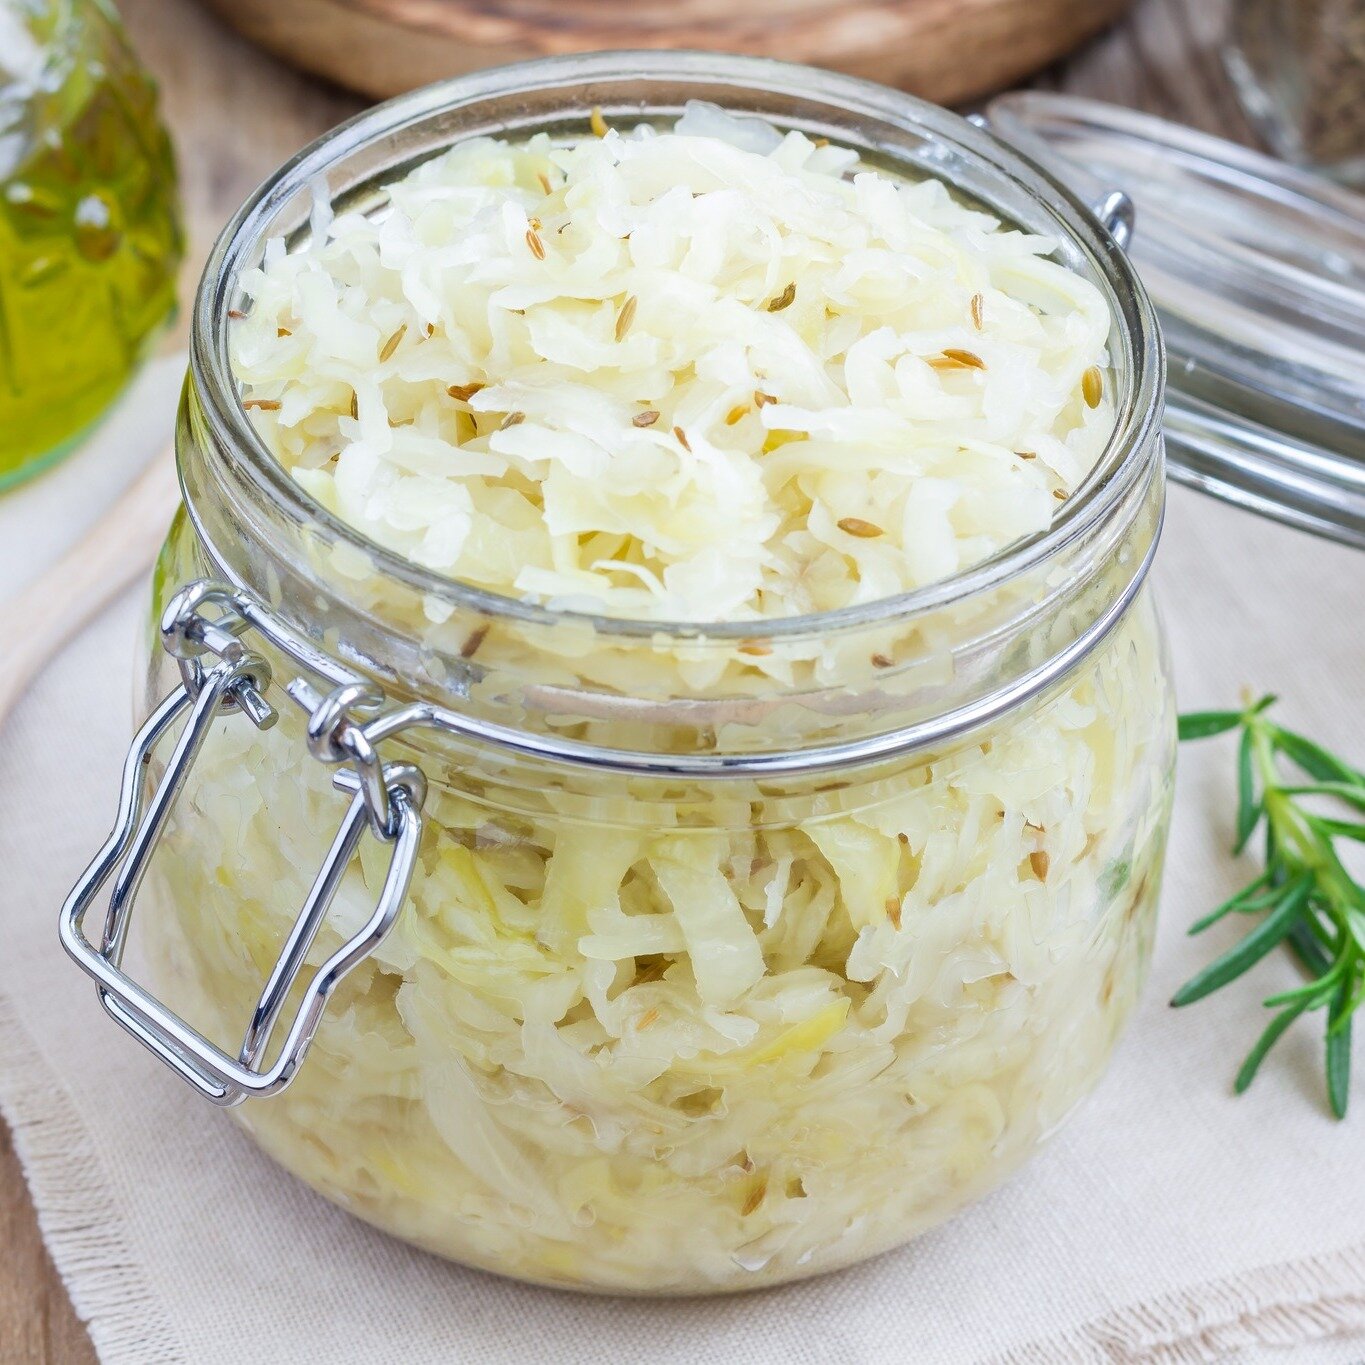
Using Custom Fermentation Time & Temperature on your Yoghurt Maker
The Kuvings Yoghurt Maker is a versatile machine – you can use it to make more things than just Yoghurt! Did you know you can make cheeses, pickles, and even Sauerkraut? While it has presets for its most common recipes, you can also set and customise the temperature and length of fermentation to suit your needs. Below we will show you how. Note: The steps need to be followed relatively swiftly to work, so it is recommended you familiarise yourself with them prior to starting the process.

Step 1:
Turn on your Yoghurt Maker.
Press the middle power button. Easy!
Step 2:
Set the required fermentation time.
Make sure you do not select any presets from the menu. Instead, hold down the middle button on the yoghurt maker until it flashes “F”. As soon as the “F” appears, press the “TIME/TEMP” button and press the plus or minus buttons depending on the time required. Next, without delay, press the “TIME/TEMP” button for a second time and then quickly press the plus or minus buttons until reaching the desired temperature.
Step 3:
Press Start.
Press the Start button to confirm everything, and begin the fermentation process. Sit back, relax, and wait for your Kuvings Yoghurt Maker to do its thing.
Discover More
We have a great selection of videos available from Kuvings Australia available here. They Cover juicing particular fruits and vegetables, as well as offering great cleaning tips.
Check out our Instagram Feed below, or visit our Blog for great recipes and tips.